Table of Contents
Getting your data into Snowflake
Windsor.ai and Snowflake allow you to
- Connect all your marketing, sales, and CRM data (e.g. Facebook Ads, Google Ads, Google Analytics, Salesforce)
- Apply data-driven attribution on the conversion journeys to understand the contribution each touchpoint has on a channel, campaign, ad level
- Join in the costs of all the connected channels to understand the cost per acquisition (CPA) or return on ad spend (ROAS)
- Make decisions
Expected workflow
Connect all your marketing, sales and CRM data
Follow the instructions in Setting up your data sources
Apply data driven attribution on the conversion journeys to understand the contribution each touchpoint has on a channel, campaign, ad level
Follow the instructions in Setting up multitouch attribution
Join in the costs of all the connected channels to understand the cost per acquisition (CPA) or return on ad spend (ROAS)
Follow the instructions in Adding data sources
Make decisions
Follow the instructions below on getting your data into Snowflake and you are ready to make decisions based on multitouch attribution insights
Frequently asked questions
How do I get my data into Snowflake
- Create a Windsor.ai account and connect all the sources which you would like to stream to Snowflake.
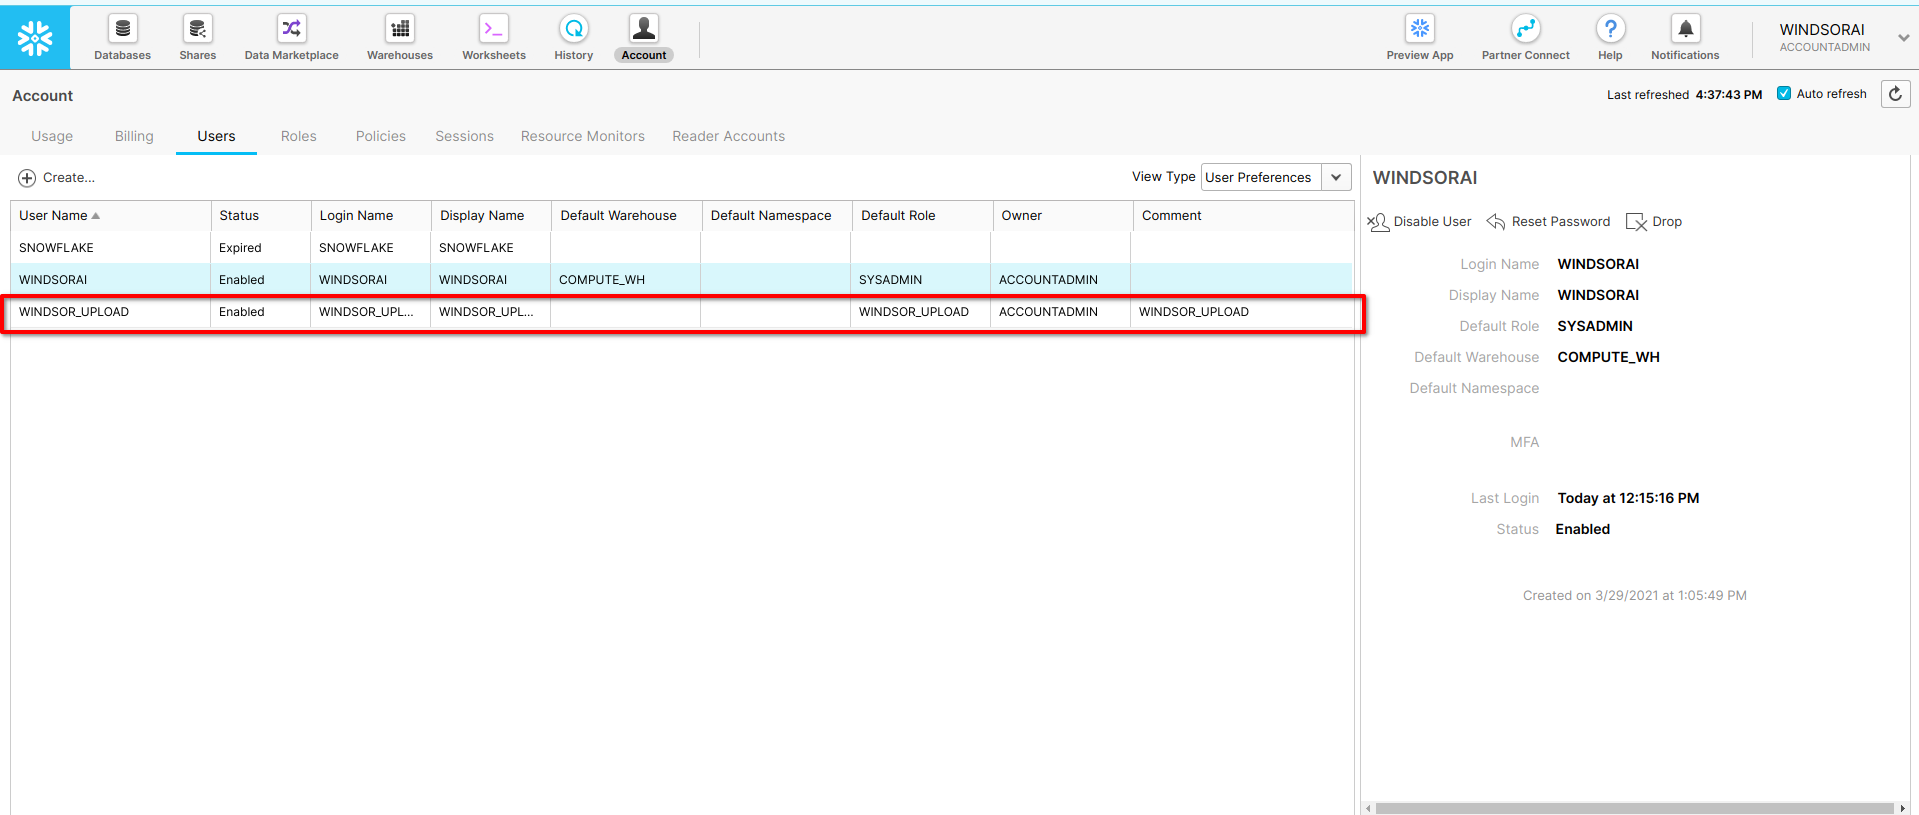
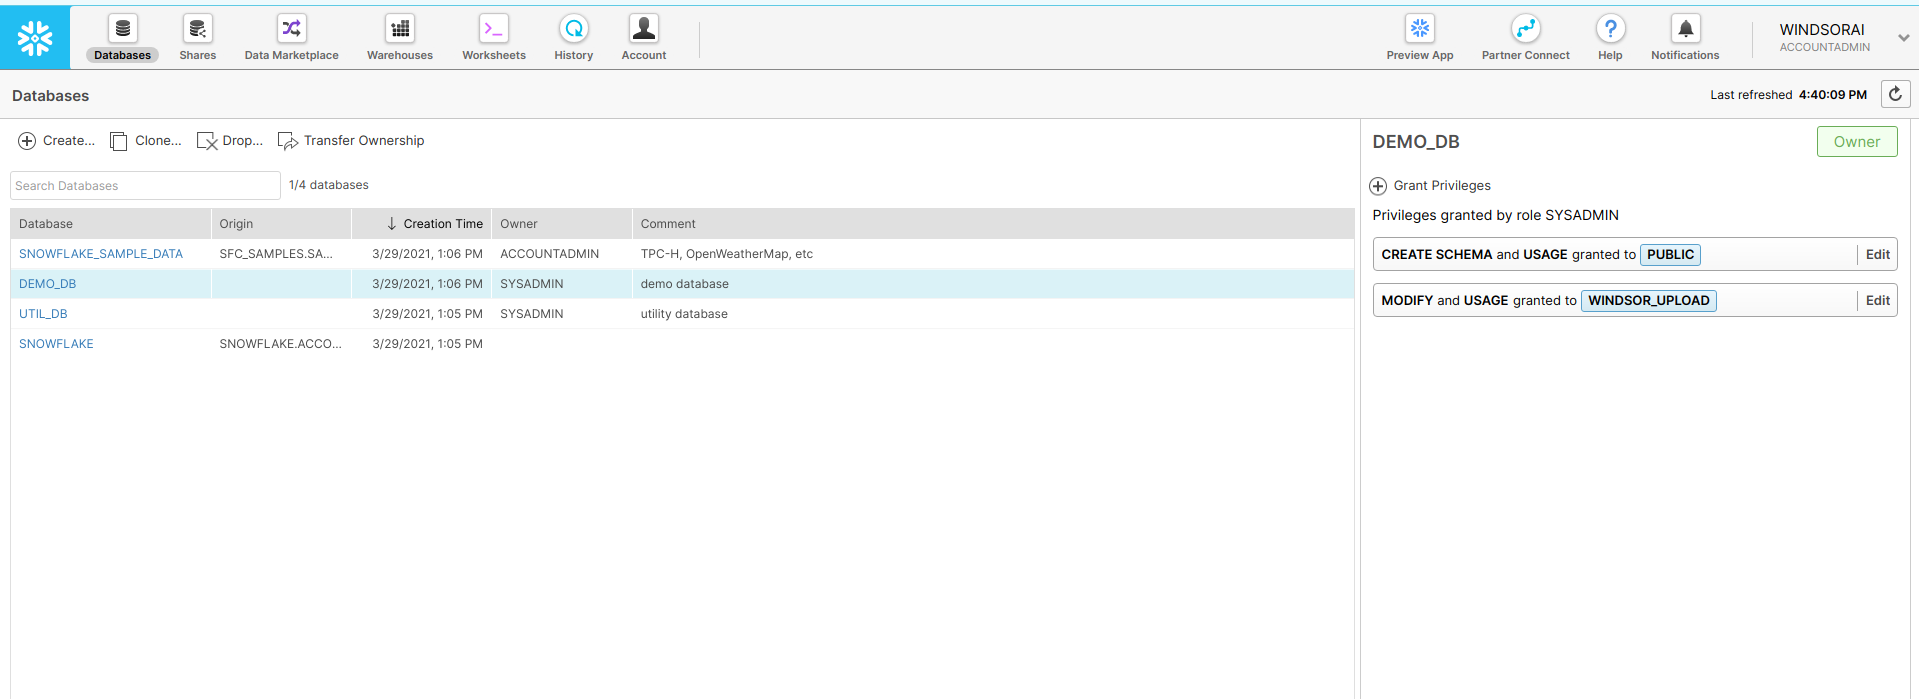
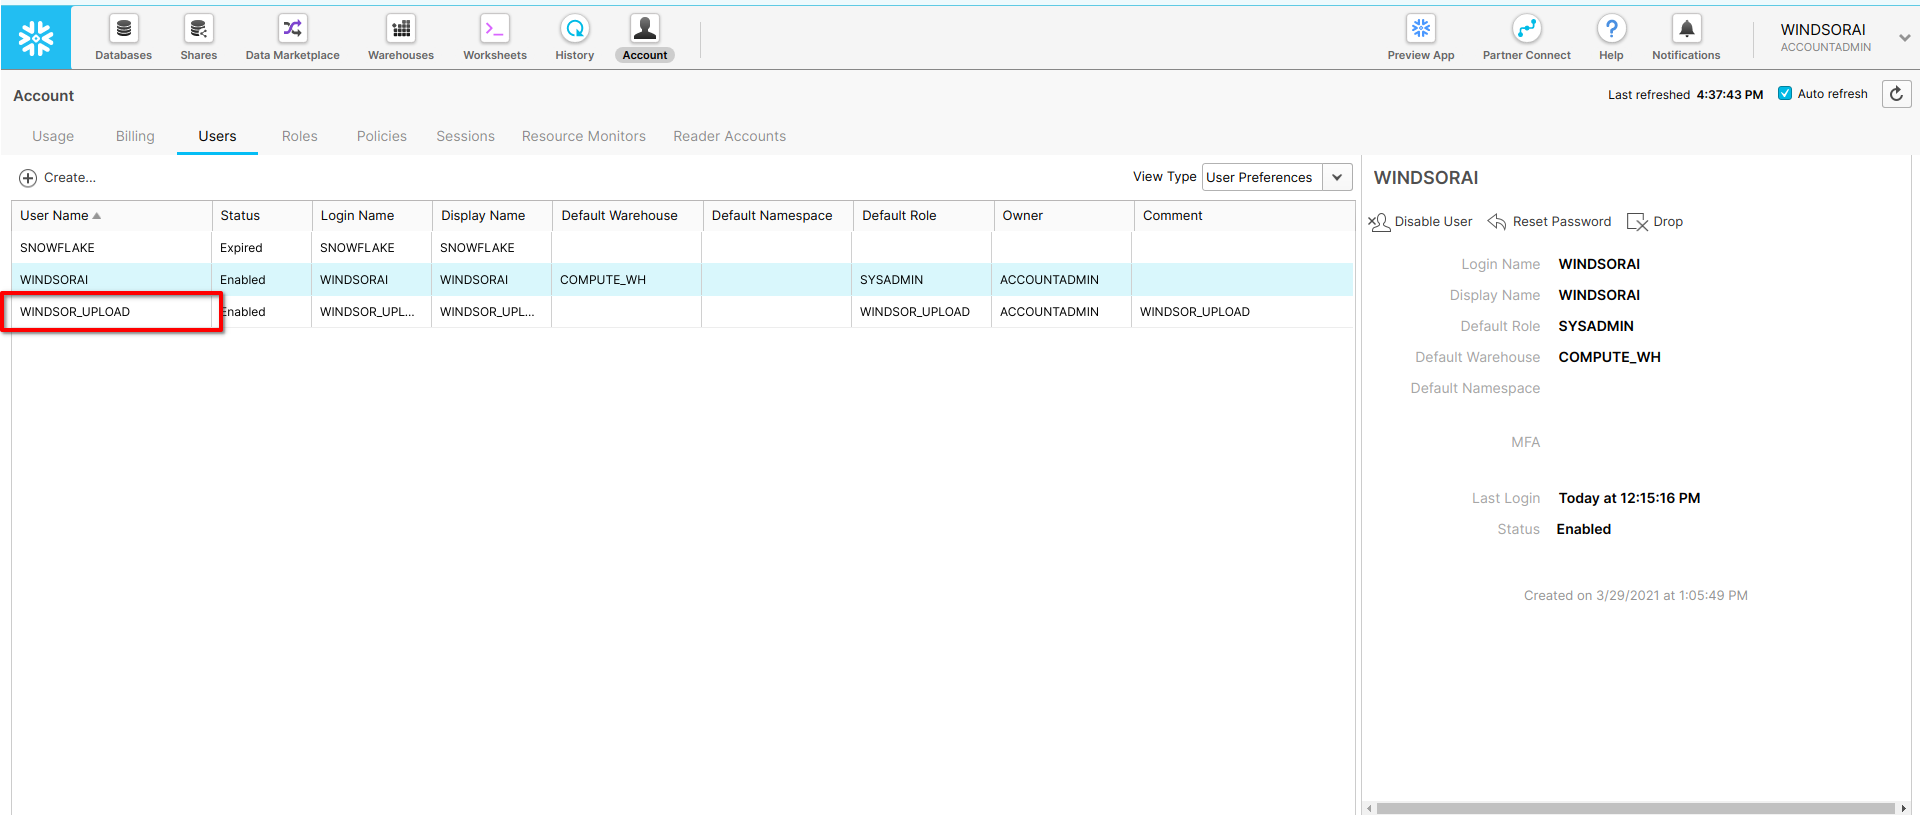
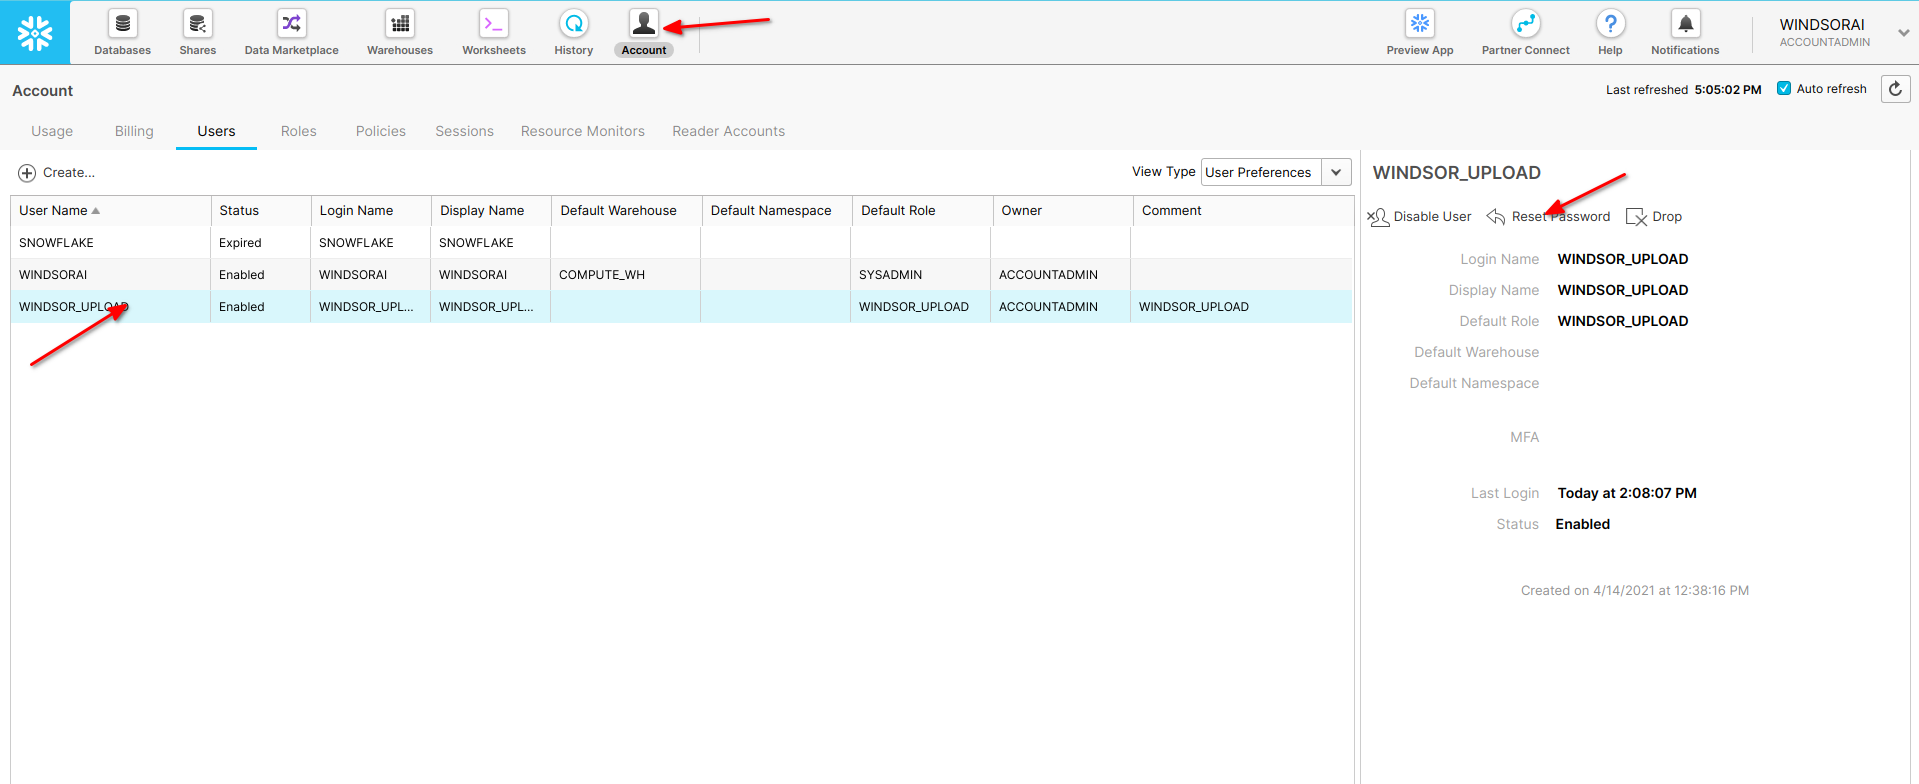
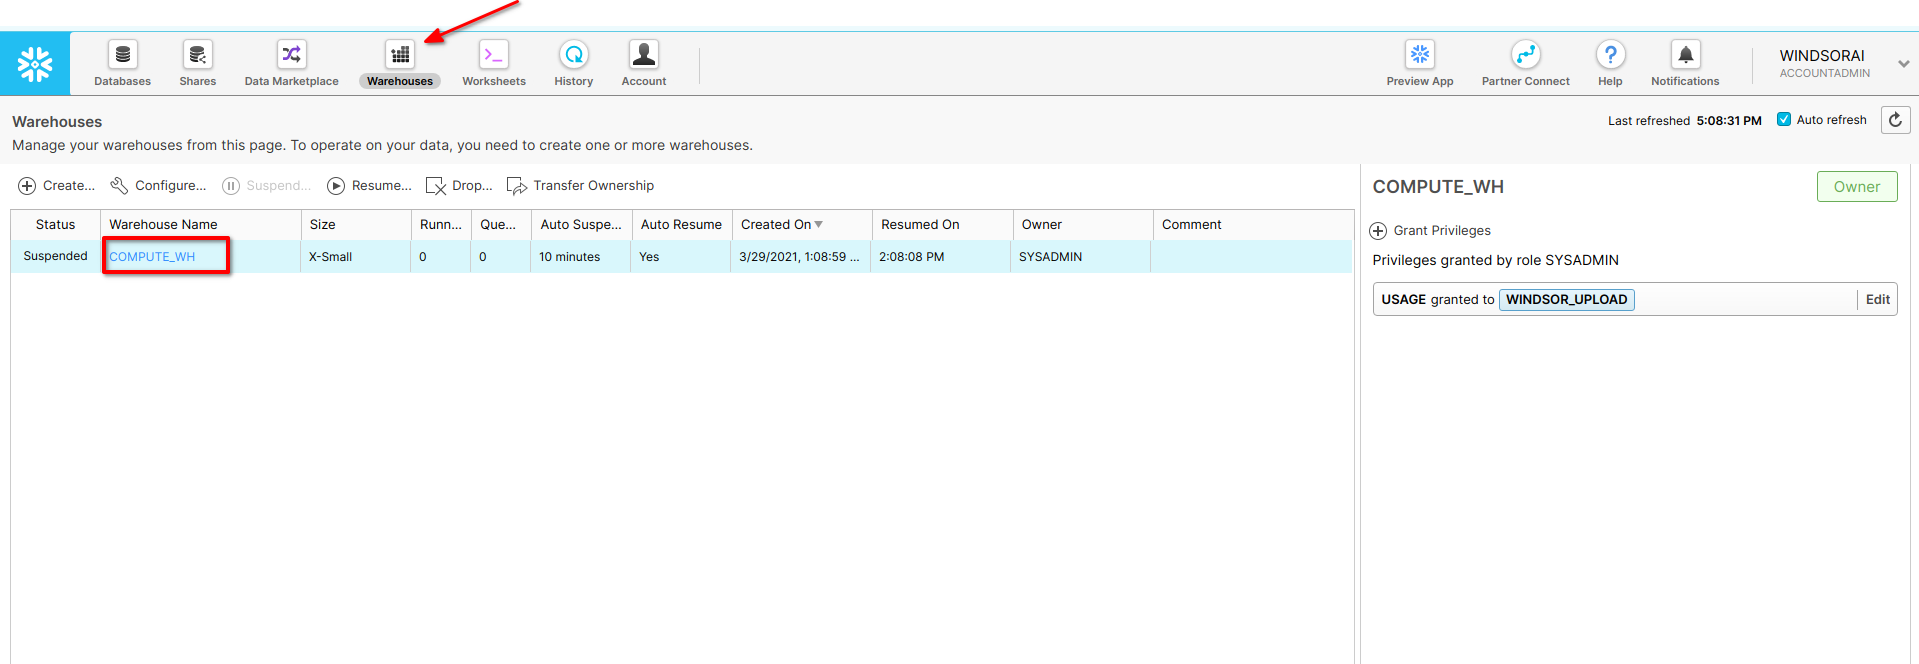
- Use this tutorial to grant access to your Snowflake account.
- Get the required fields from Snowflake to use the Snowflake destination in Onboard Form
- In 2. Select Destination select Snowflake as destination
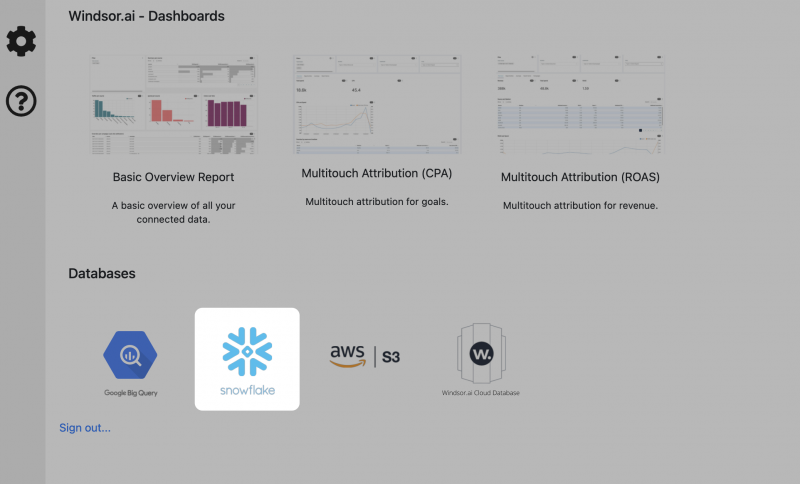
- Enter all the credentials required and click Save

- Your data will now be streamed to Snowflake. In case there is an error you will be notified.
What fields and data types are available?
Check our connector documentation for all the fields available

