Quick links
Getting data into other tools
Advanced features
Advanced transformations
Datasource specific
Quick links
Getting data into other tools
Advanced features
Advanced transformations
Datasource specific
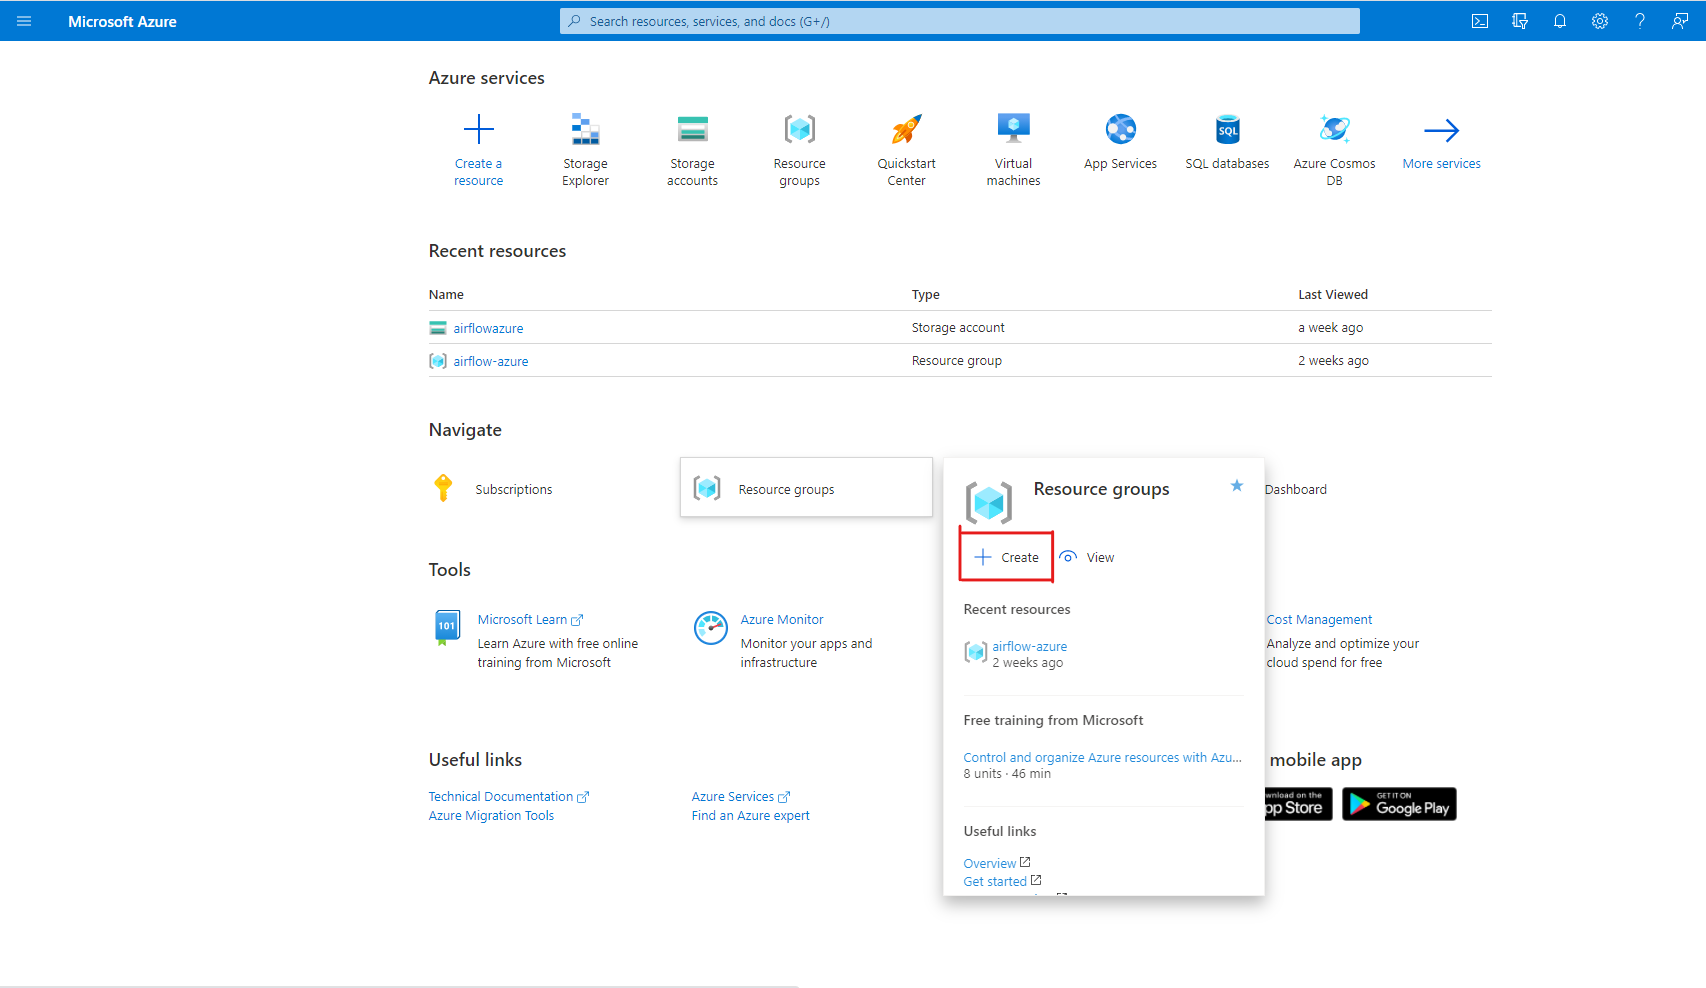
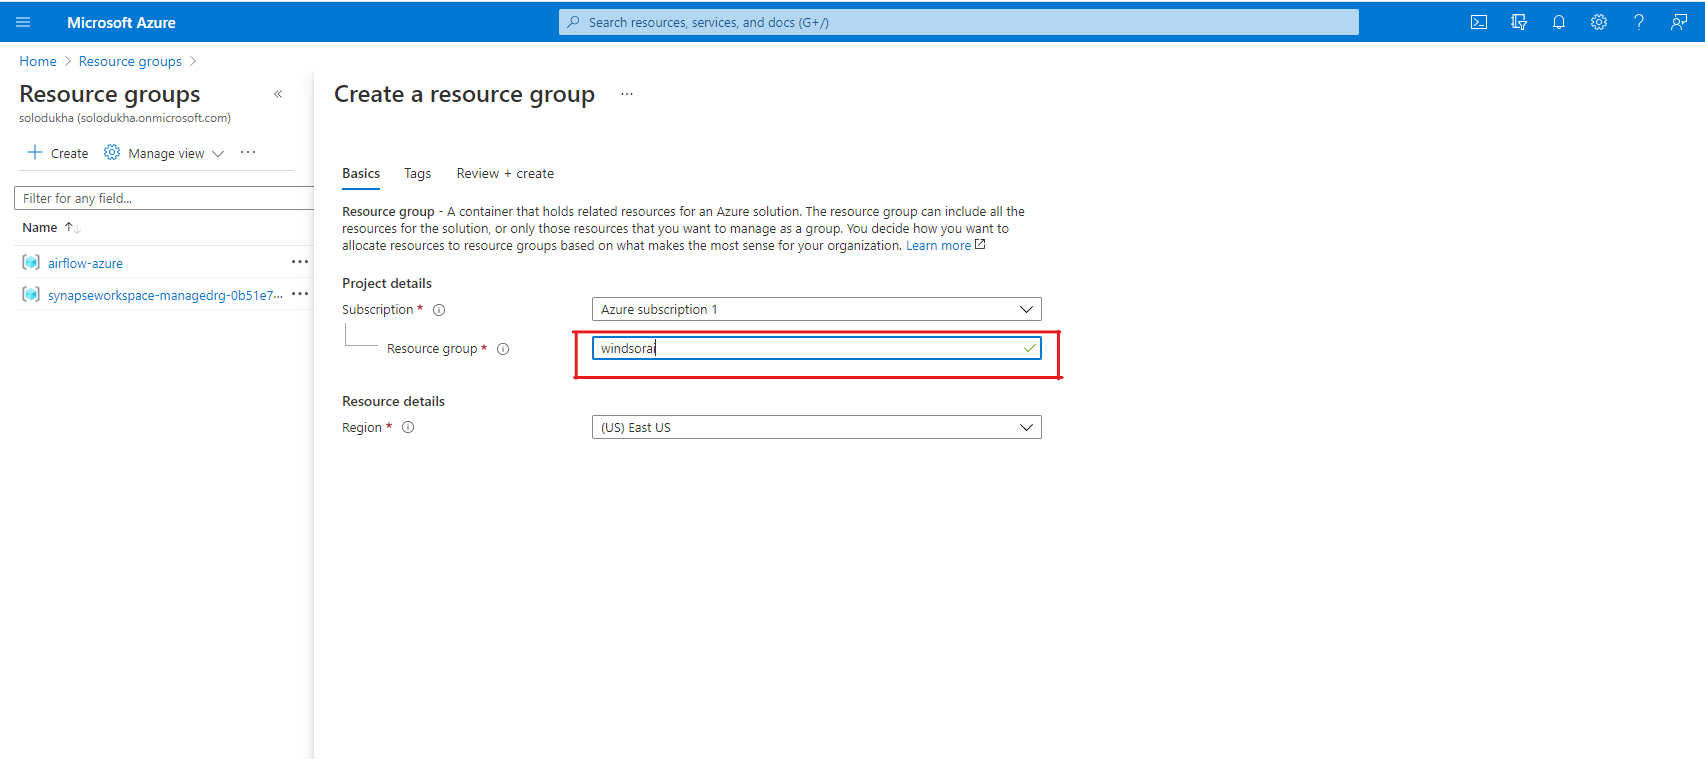
First of all, you have to have a proper Azure subscription. If you do, go to Azure Portal (https://portal.azure.com/) and create a resource group. It can be named anything you want.
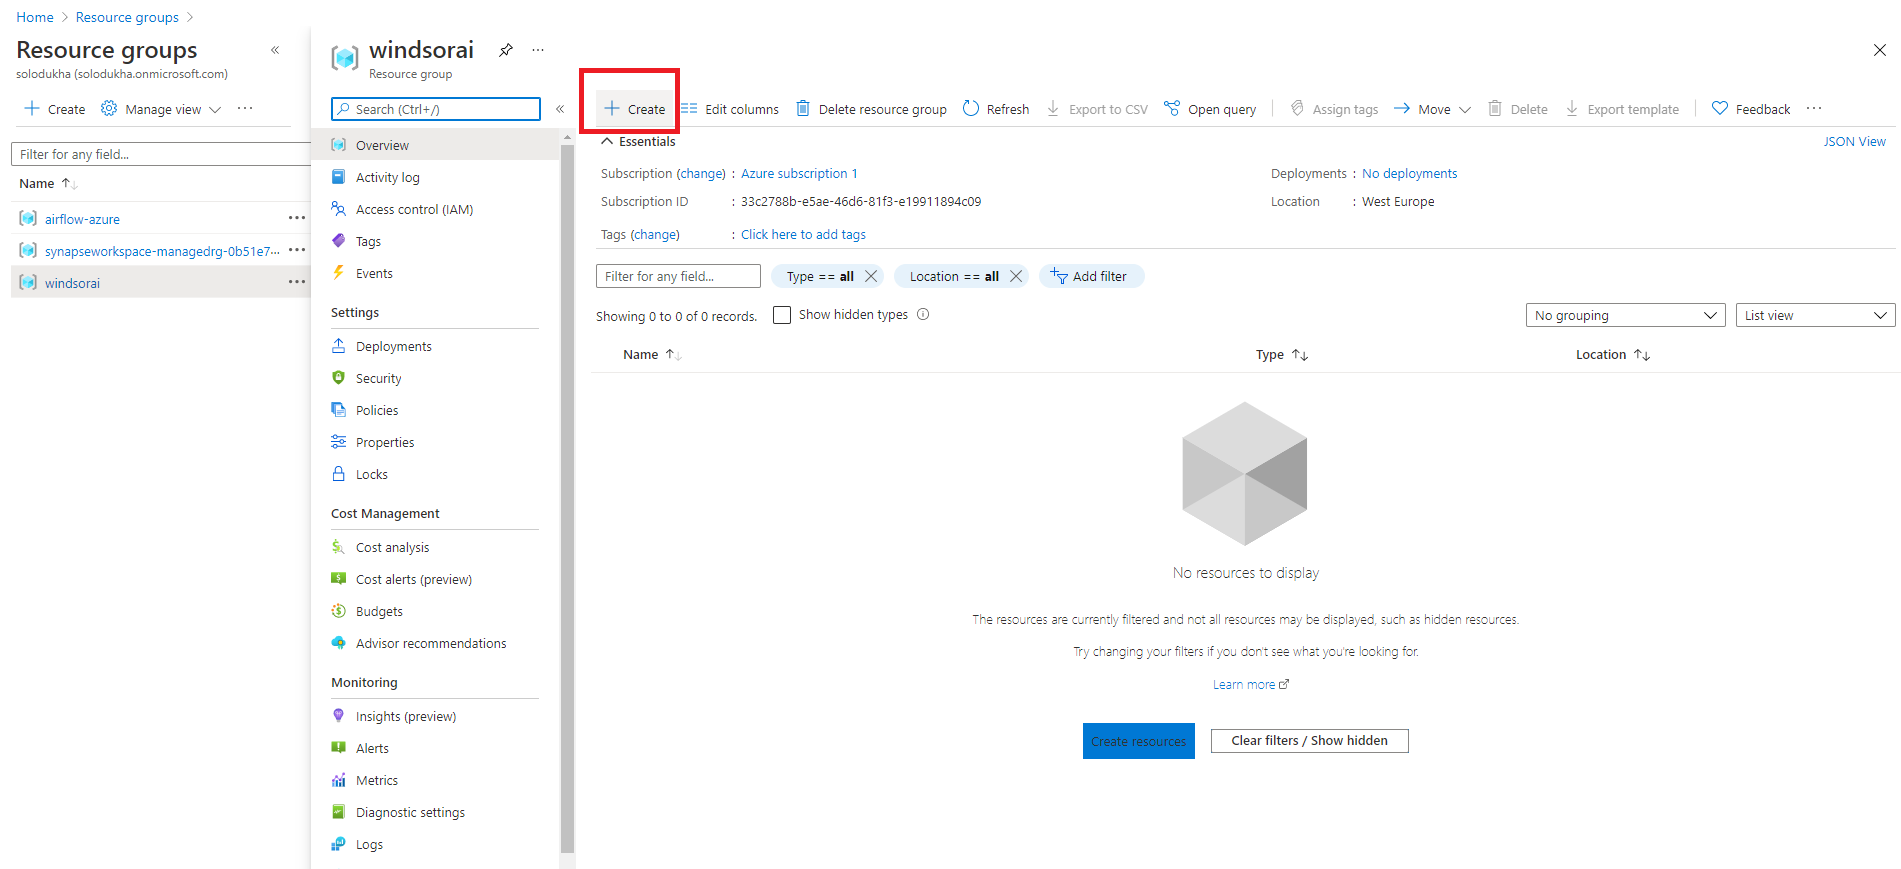
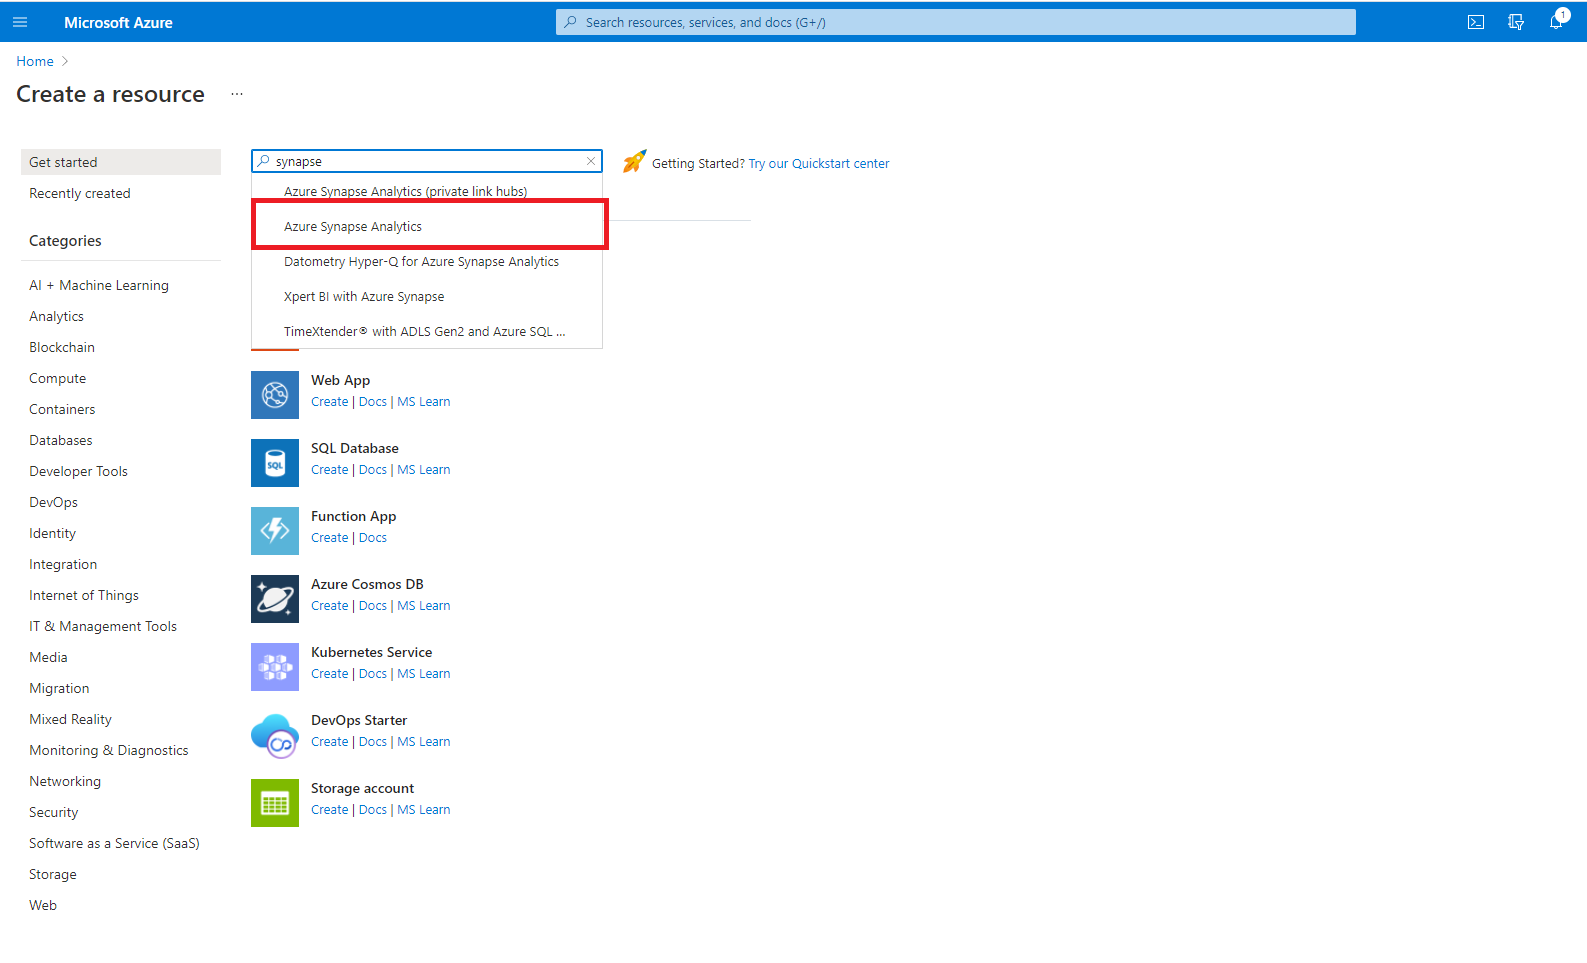
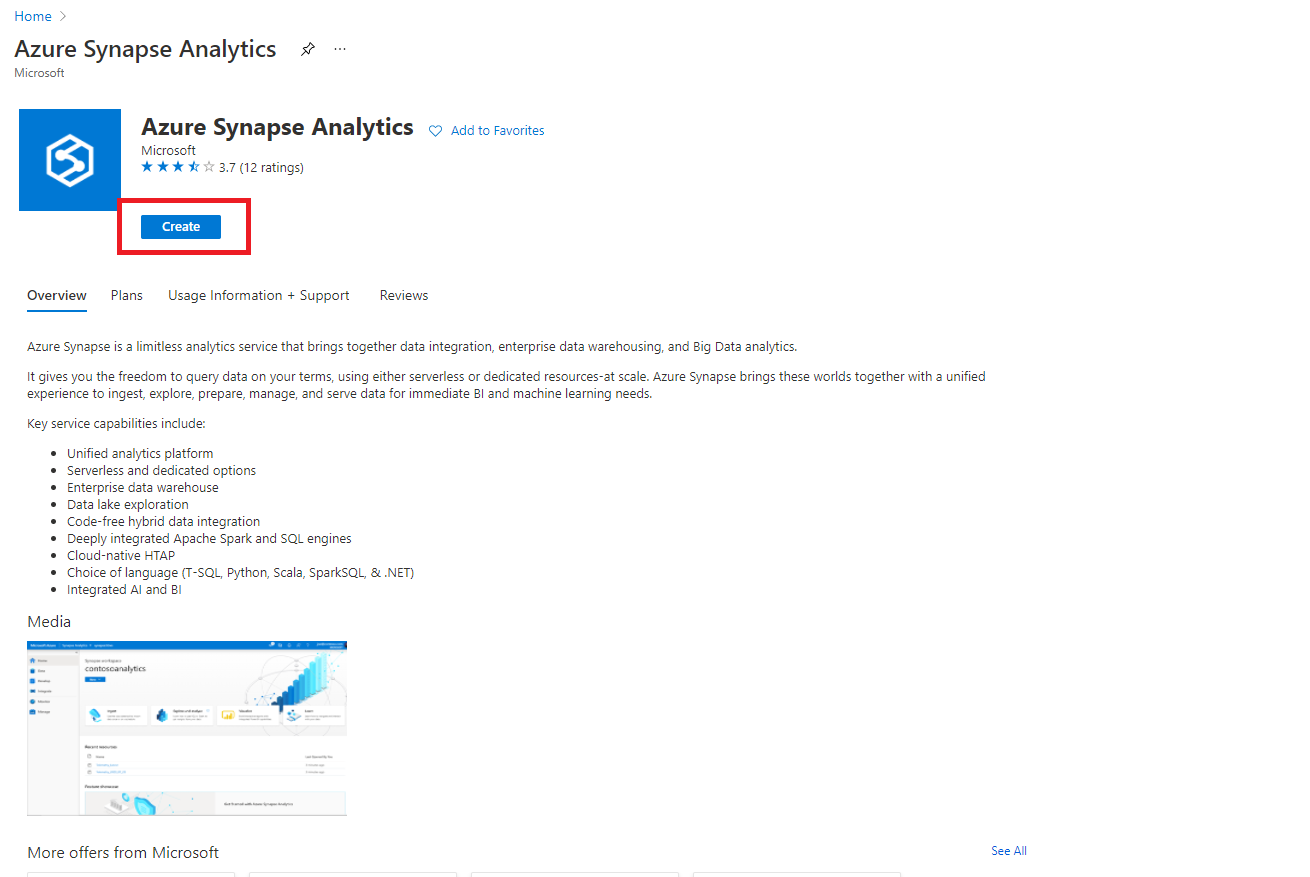
Within this resource group, we will create an Azure Synapse Analitycs resource. (We assume that your data will be used with Azure Synapse, so we will create an Azure Synapse resource, which will automatically give us an Azure Blob Storage account.)

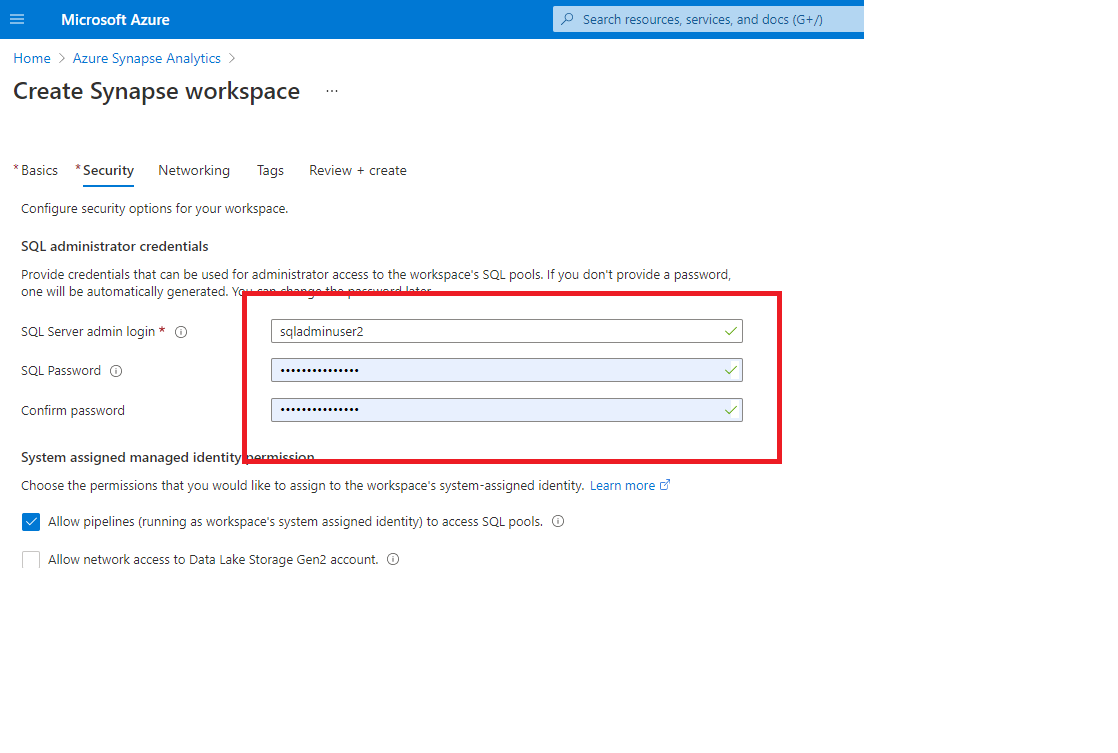
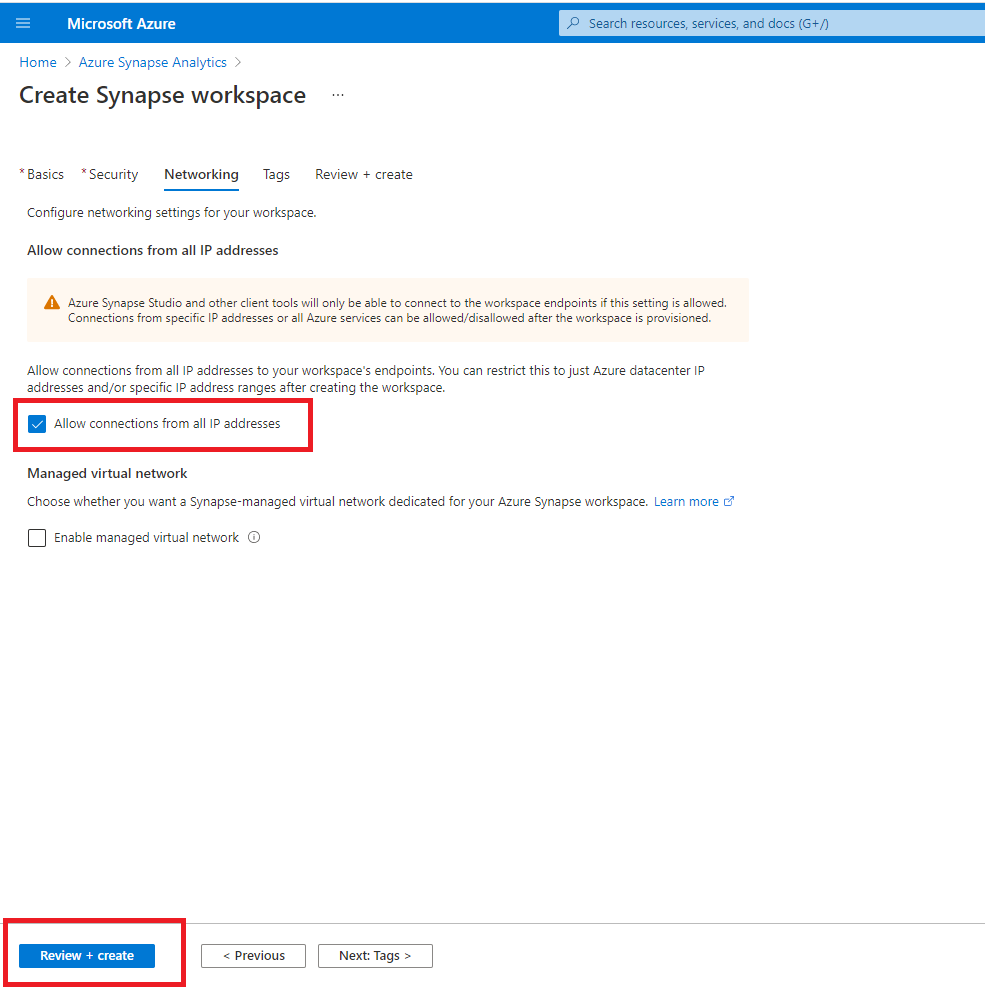
Then we fill out the details for our Azure Synapse Analitycs resource to be created.


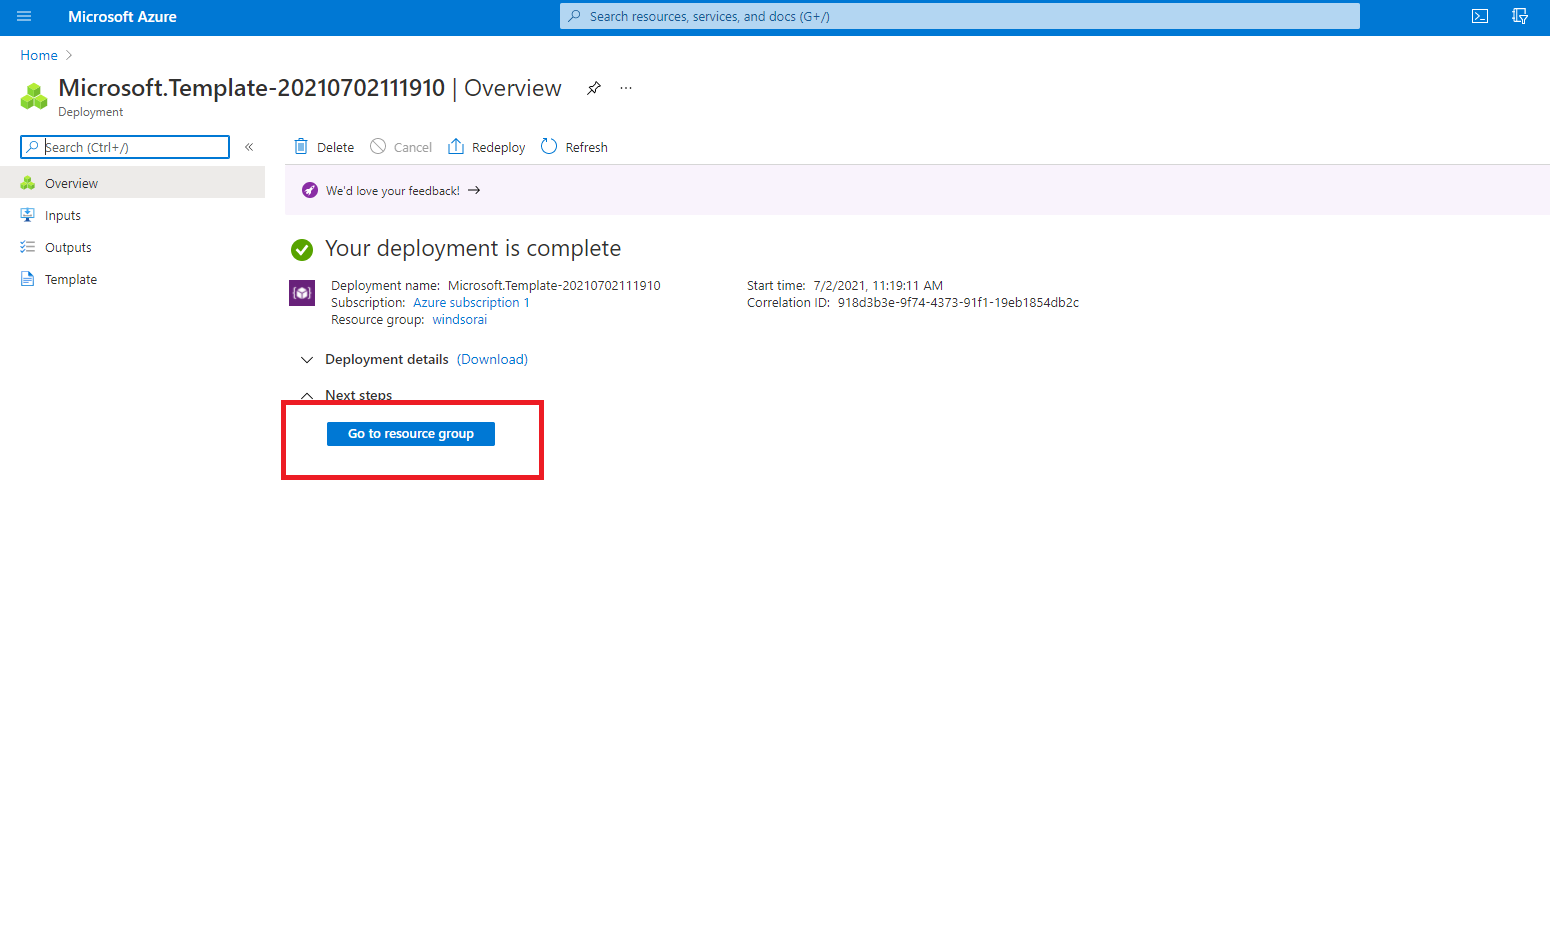
Wait for our deployment to be completed and go to the resource group.
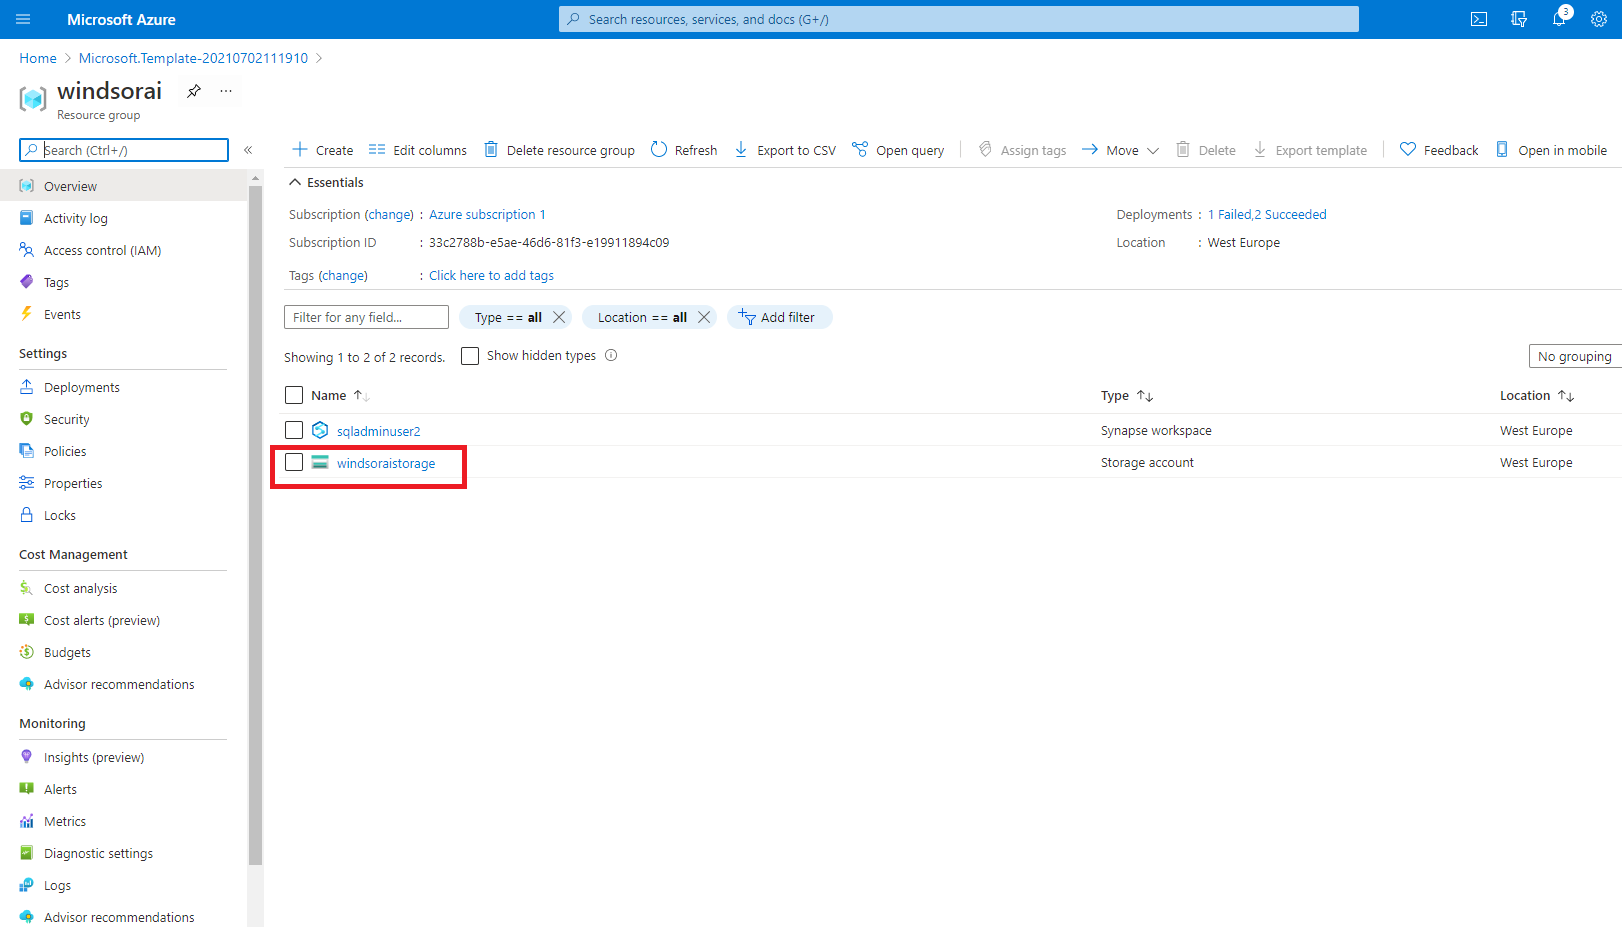
On the “resource group” page select a newly created storage account and create a new container for the destination data you want to store there.


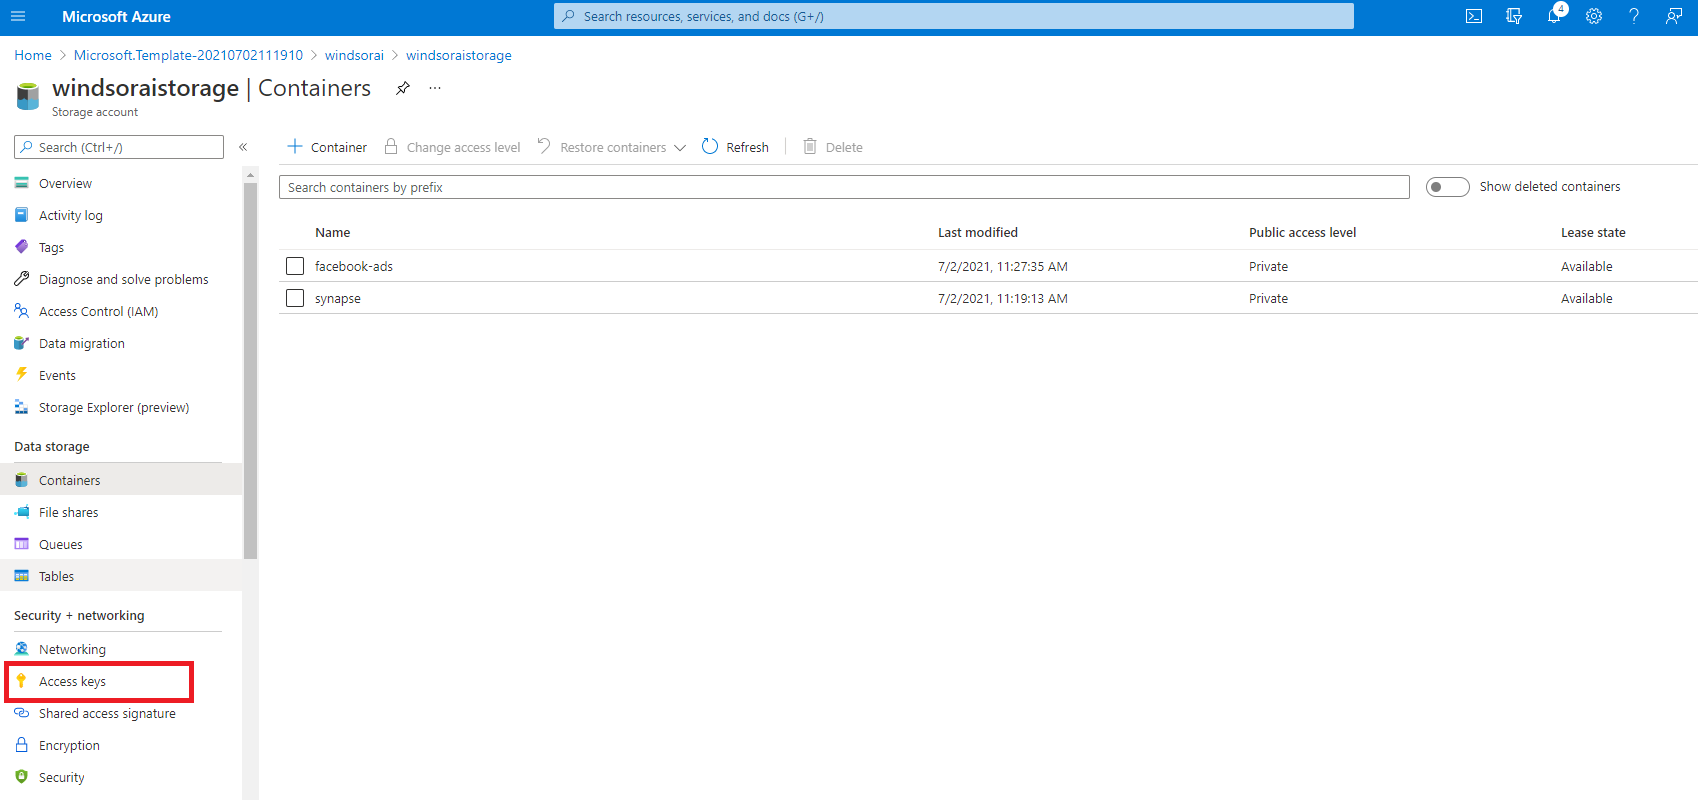
On the Storage Account page, go to Access keys and copy the connection string
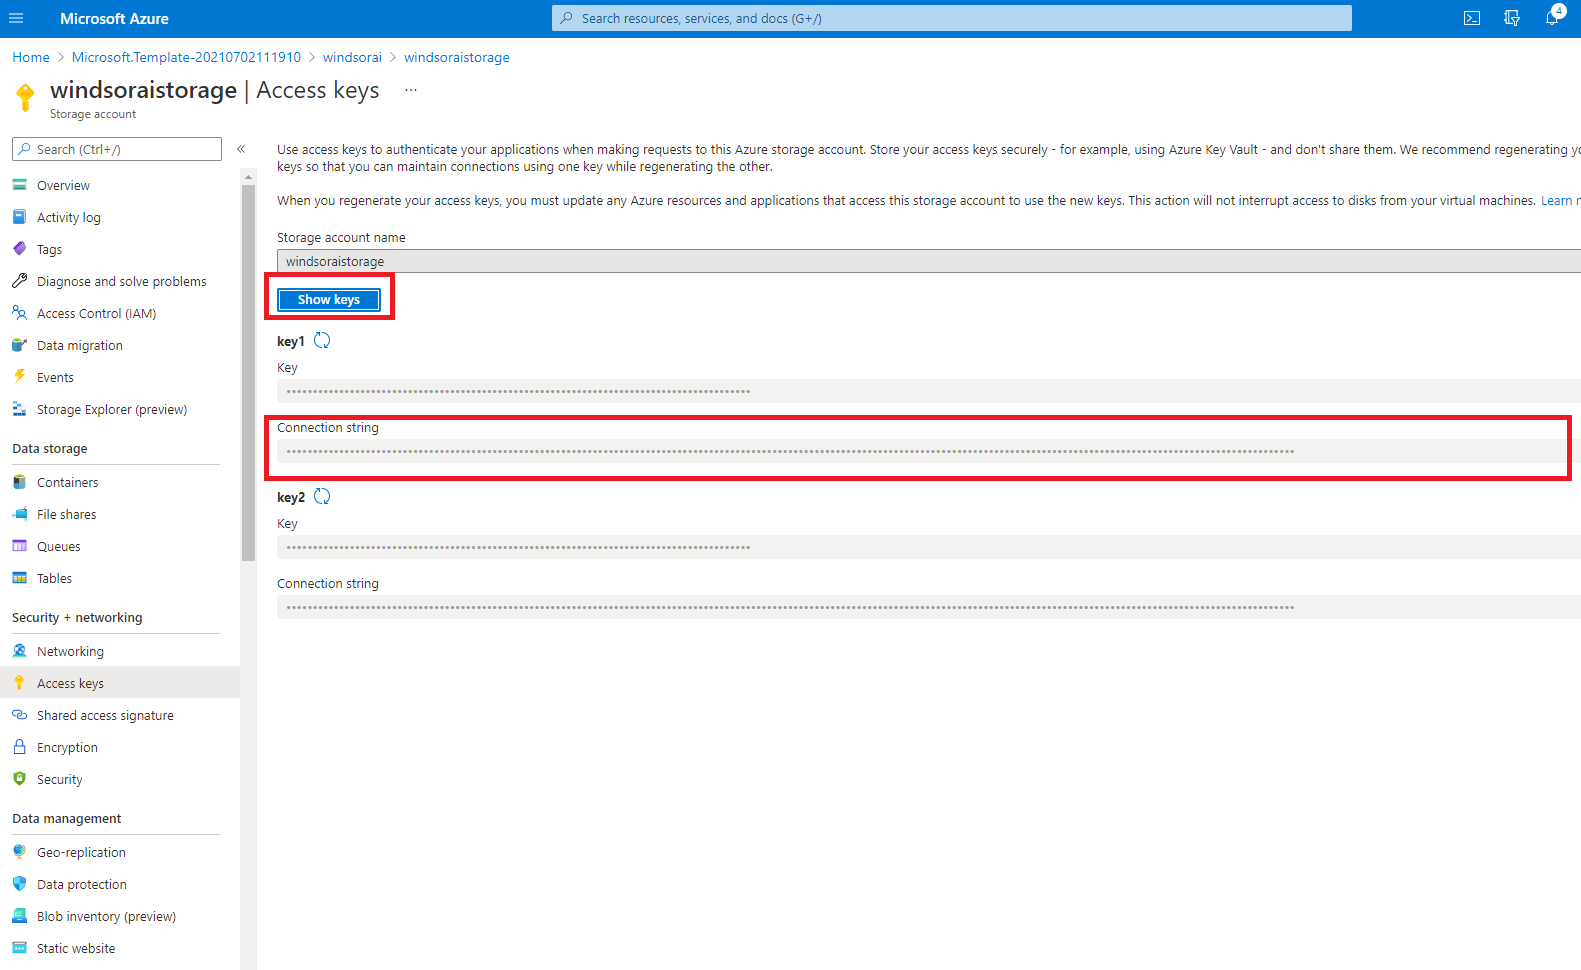
On the https://onboard.windsor.ai/ select Azure Blob Storage as a destination and paste this connection string to the corresponding field.
You can use a container name of the one that has been created before. If you want to use a new container, you may just input its name on the onboard page and it will be created automatically.
Blob name is a prefix that all your files (blobs) will have in this container. You may choose whatever you want, but fits best the one that reflects the data being stored.
Folder path is a path that all your files (blobs) will be uploaded to in this container. It's optional, but useful if you have many Azure Blob Storage destinations in order to categorize uploaded files. Folder path shouldn't begin or end with a slash character (/), but you can use them in the middle if you want to specify a subfolder, e.g. folder/subfolder.
